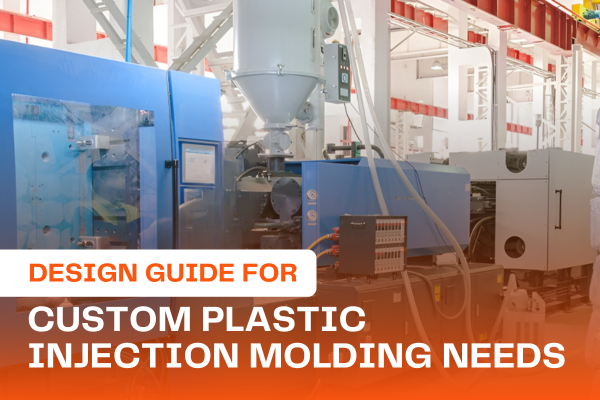
Design Guide for Custom Plastic Injection Molding Needs
Plastic injection molding is a versatile and cost-effective manufacturing process used to produce a wide range of plastic parts and components. Whether you’re a seasoned engineer or a newcomer to the world of plastic injection molding, designing for this process can be complex. This guide aims to provide you with a detailed overview of the key considerations and best practices when designing for custom plastic injection molding needs.
Introduction to Plastic Injection Molding
Plastic injection molding is a manufacturing process that involves injecting molten plastic material into a mold cavity, allowing it to cool and solidify, and then removing the finished product from the mold. This method is widely used across various industries due to its ability to produce high-quality, precise, and consistent parts at scale. However, successful injection molding requires careful design considerations.
Key Design Considerations
Material Selection
Choosing the right plastic material is critical to the success of your injection molding project. Different plastics have varying properties, such as strength, flexibility, chemical resistance, and temperature resistance. Discuss your material requirements with your manufacturer to ensure the chosen material meets your project’s specifications.
Wall Thickness
Maintaining uniform wall thickness in your design is essential for preventing defects like warping, sink marks, and voids. Thicker sections tend to cool slower, leading to uneven shrinkage and potential part failure. Aim for consistent wall thickness and use ribbing or gussets for added strength where necessary.
Draft Angles
To facilitate the ejection of the part from the mold, incorporate draft angles into your design. Draft angles are slight tapers on vertical walls, making it easier for the part to release from the mold. Typically, a draft angle of 1 to 2 degrees is sufficient.
Undercuts
Avoid sharp undercuts or complex features in your design, as they can complicate the mold-making process and increase production costs. If undercuts are necessary, consider using slides, lifters, or collapsible cores to facilitate their release.
Ribs and Bosses
Design ribs and bosses to enhance the structural integrity of your part. Ribs should be approximately 60-70% of the surrounding wall thickness and spaced adequately. Bosses, used for features like threaded inserts, should be properly designed to avoid sink marks and voids.
Gate Location
Selecting the right gate location is crucial for even material distribution and minimal part defects. Common gate types include edge gates, pin gates, and sub-gates. Consult with your manufacturer to determine the best gate location for your specific design.
Surface Finish
Consider the desired surface finish for your part. Injection molds can produce a range of finishes, from matte to high-gloss. Keep in mind that certain textures or finishes may require additional design considerations, such as draft angles or textural depth.
Tolerance and Fit
Specify the required tolerances and fits for your part. Tighter tolerances may increase manufacturing costs and cycle times. Consult with your manufacturer to strike the right balance between precision and cost-effectiveness.
Designing for Prototyping
Before moving to mass production, it’s often advisable to create prototypes of your plastic part. Prototyping allows you to identify and address design flaws, ensure the part’s functionality, and make necessary adjustments before investing in tooling for mass production.
3D Printing
3D printing is an excellent method for quickly producing prototypes. It allows for rapid iterations and design testing. While 3D-printed prototypes may not have the exact material properties of injection-molded parts, they provide a cost-effective way to validate your design.
Rapid Tooling
For more accurate prototypes that closely mimic injection-molded parts, consider rapid tooling. This method involves creating molds using less expensive materials and processes, allowing you to produce small batches of parts for testing and validation.
Working with a Manufacturer
Collaborating with an experienced plastic injection molding manufacturer is essential for a successful project. Here are some tips for a productive partnership:
Early Involvement: Involve your manufacturer early in the design process to receive valuable insights and recommendations.
Material Expertise: Leverage their material expertise to select the right plastic for your application.
Prototyping: Work with the manufacturer to create prototypes and refine your design before committing to mass production.
Tooling: Discuss tooling options, including steel types, mold complexity, and costs.
Quality Control: Ensure quality control processes are in place to meet your part specifications and requirements.
Conclusion
Designing for custom plastic injection molding requires careful consideration of various factors, from material selection to part geometry and manufacturing processes. By following the key design principles outlined in this guide and collaborating closely with an experienced injection molding manufacturer, you can increase the likelihood of a successful and cost-effective production process. Remember that each project is unique, and tailoring your design approach to your specific needs will yield the best results in the world of custom plastic injection molding.